

How to Add a Card Reader for Vending Machine: The Ultimate Cashless Upgrade Guide
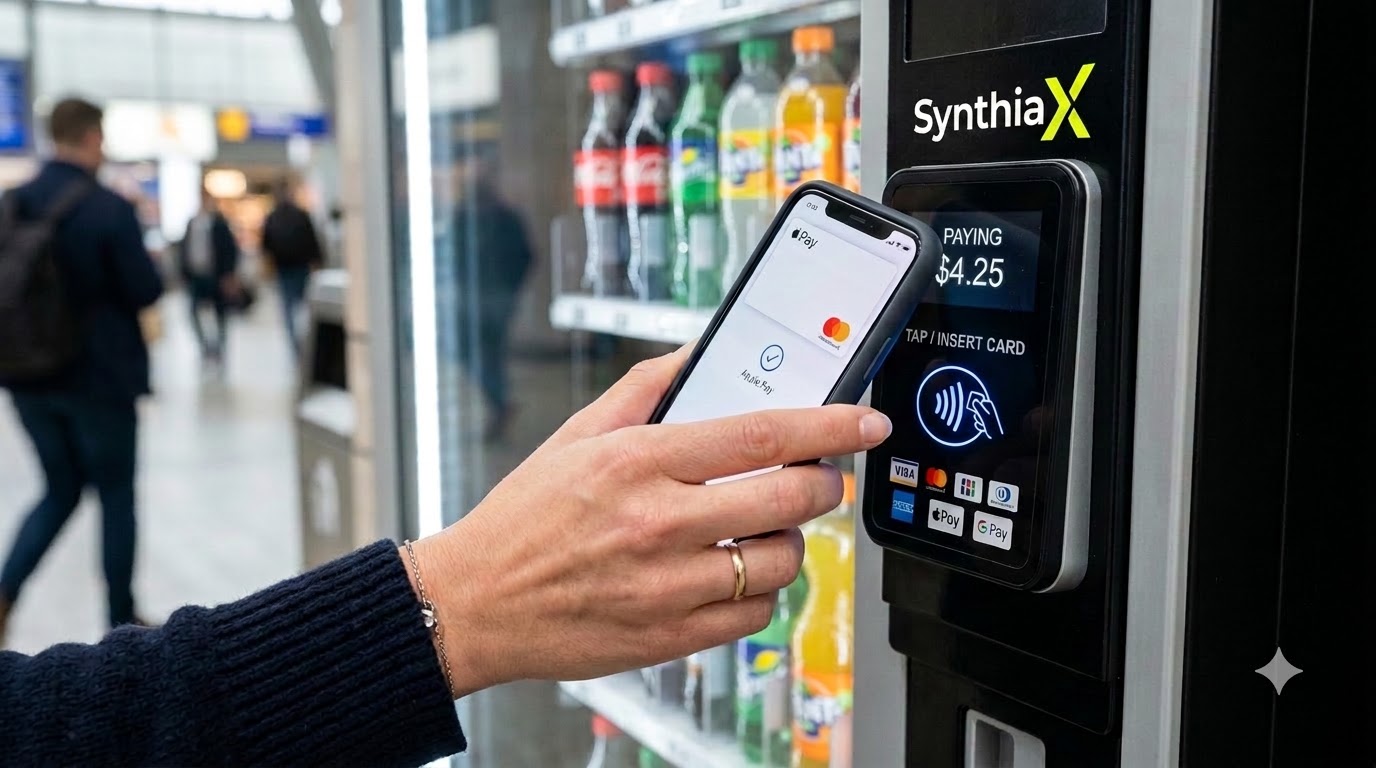
In today’s increasingly cashless society, carrying physical bills and pocketfuls of coins is fast becoming a thing of the past. From local coffee shops to major retail centers, consumers expect swift, tap-and-go payment options wherever they shop. Unsurprisingly, this shift in consumer behavior has impacted the automated retail industry dramatically. If your business relies on traditional cash-only equipment, you are likely leaving a massive chunk of your potential revenue on the table. Learning how to install a modern card reader for vending machine units is no longer a luxury; it is an absolute necessity for modern vending operators.
Upgrading your vending route with cashless technology allows you to capture impulse purchases from customers who do not carry cash, increase average transaction values, and monitor inventory levels remotely. However, many route operators worry that upgrading their machines will be overly technical, costly, or time-consuming.
The good news is that converting your fleet to accept credit cards, debit cards, and mobile wallets like Apple Pay and Google Pay is far simpler than it sounds. That is where synthiaX comes into play as the ultimate end-to-end payment and telemetry solution. In this comprehensive guide, we will walk you through everything you need to know about traditional vending systems, the benefits of modernizing your equipment, and a detailed step-by-step guide to installing a card reader for vending machine operations.
A Brief Look at Traditional Vending Machine Systems
To understand how easy it is to retrofit modern cashless hardware, it helps to first understand how traditional vending machine systems function.
For decades, vending machines operated entirely on mechanical and electromechanical cash-handling components:
- Coin Mechanisms (Coin Acceptors): These units physically validate incoming coins using optical or magnetic sensors to measure size, thickness, and metallic composition. If valid, the coin routes to an internal drop box or tube to provide change.
- Bill Acceptors (Validator Units): Bill validators pull paper currency into the machine using motorized rubber belts, scanning optical patterns and infrared signatures to confirm the bill’s authenticity and denomination.
- Main Controller Boards (VMC): The Vending Machine Controller acts as the brain of the machine. It receives signals from the bill validator and coin mechanism, calculates credit, waits for a customer selection, triggers the vending motor, and instructs the coin mechanism to return appropriate change.
Historically, these components communicated using legacy pulse signals or early electronic protocols. However, in the late 1990s, the vending industry standardized hardware communication through a unified system known as MDB (Multi-Drop Bus).
The Limitations of Traditional Cash-Only Systems
While cash systems built the automated retail industry, relying solely on cash presents major operational bottlenecks today:
- Lost Sales Opportunities: Modern consumers, particularly younger demographics, rarely carry cash. If a customer approaches your machine without exact physical currency, you lose a guaranteed sale.
- Strict Transaction Limits: Customers rarely spend more than a couple of dollars in cash at a vending machine. Cash-only setups severely limit your ability to sell higher-margin premium items, electronics, or fresh food options.
- High Labor and Maintenance Costs: Servicing cash-only machines requires frequent manual visits to drop off change, collect cash bags, unjam jammed bill validators, and clear coin jams.
- Security and Vandalism Risks: Cash boxes inside unattended machines make attractive targets for thieves and vandals, leading to damaged machines, stolen revenue, and unexpected repair expenses.
By integrating a modern card reader for vending machine fleets, you bridge the gap between traditional MDB controller hardware and modern electronic payment gateways. This allows old cash systems to communicate effortlessly with modern banking networks.
Why You Need a Card Reader for Vending Machine Operations
Adding contactless credit and debit card capability changes the fundamental economics of your vending route. When you upgrade your hardware with a powerful hardware-and-software system like synthiaX, you unlock immediate operational benefits:
- Up to 30%–40% Revenue Increase: Vending operators consistently report immediate double-digit revenue growth upon adding cashless payment hardware, driven by convenience and impulse buys.
- Higher Ticket Prices: Customers paying with cards or mobile wallets are far more open to purchasing higher-priced combo deals or premium products.
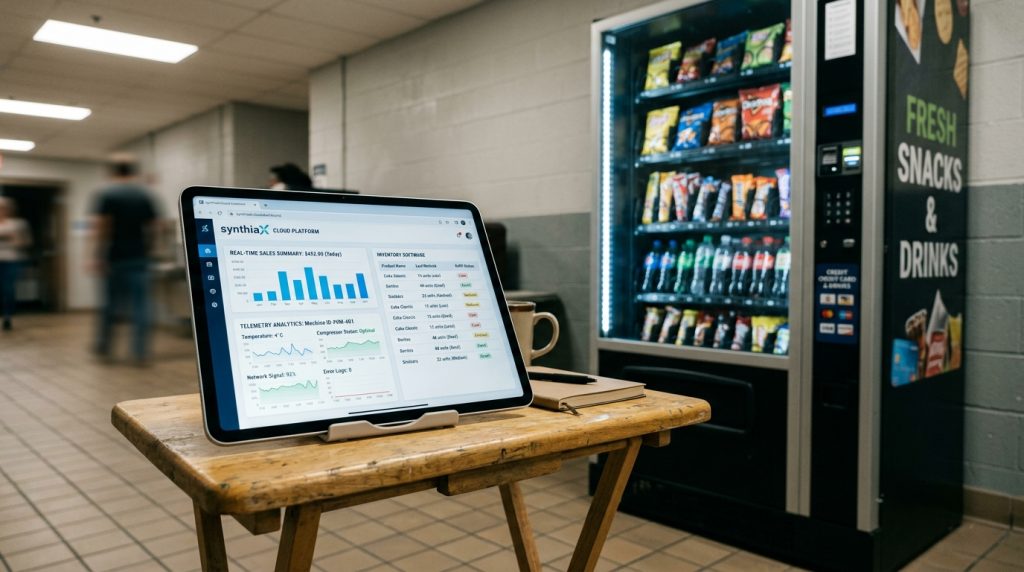
- Integrated Telemetry and Remote Management: A top-tier card reader for vending machine integration does more than just process payments; it serves as a cellular telemetry gateway. With synthiaX, you get real-time tracking of inventory, sales trends, machine diagnostics, and temperature monitoring directly from your smartphone or laptop.
- Enhanced Security: Less cash stored inside the machine lowers the risk of break-ins, theft, and internal auditing discrepancies.
How to Install a Card Reader for Vending Machine: Step-by-Step Guide
Installing a cashless system on your equipment is a straightforward process that usually takes between 15 to 30 minutes per machine. Most modern machines manufactured after 1998 are MDB-compliant, meaning they are ready for plug-and-play installation right out of the box.
Follow these step-by-step instructions to successfully mount and wire a card reader for vending machine integration.
Pre-Installation Requirements & Tools
Before heading out to your vending location, gather the following basic tools and equipment:
- Your cashless kit (Includes the card reader bezel, telemeter module, MDB harness cable, and cellular antenna).
- A standard screwdriver set (Phillips and flathead).
- A socket wrench or nut driver set (typically 11/32″ or 1/4″ sizes).
- Safety glasses and protective work gloves.
- A drill with step drill bits (Only required if your machine lacks a pre-cut card reader mounting opening).
- Zip ties for clean cable management.
Step 1: Power Down the Vending Machine Completely
Safety comes first. Never perform electrical modifications, plug in wire harnesses, or mount hardware while the machine is powered on.
- Locate the main power switch inside the cabinet (usually near the power supply unit or main door junction) and flip it to the OFF position.
- Unplug the main power cord from the wall outlet to guarantee no live current enters the controller board during installation.
Step 2: Prepare the Mounting Location and Mount the Card Reader Bezel
Look at the front door of your vending machine. Most modern equipment features a standard cutout plate (often located directly above or below the bill validator) designated specifically for a card reader for vending machine device.
- Remove the Knockout / Cover Plate: Undo the retaining nuts behind the door panel and remove the factory blanking plate to expose the mounting studs and pass-through slot.
- Drill Custom Holes (If necessary): If you are working on an older machine without a pre-cut opening, hold the mounting template against the door at an accessible height (ensuring ADA compliance). Mark the center clearance hole for the wire harness and the four corner mounting screw holes. Use a step bit to drill the holes cleanly, making sure to file away any sharp metal burrs.
- Mount the Reader: Insert the front face of the card reader from the outside of the machine. From the inside of the door, slide on the backing frame or washer plates, and secure the device tightly using the provided locknuts. Make sure the weather seal gasket sits flush against the outer door panel to prevent water or liquid ingress.
Step 3: Connect to the Multi-Drop Bus (MDB) Cable Harness
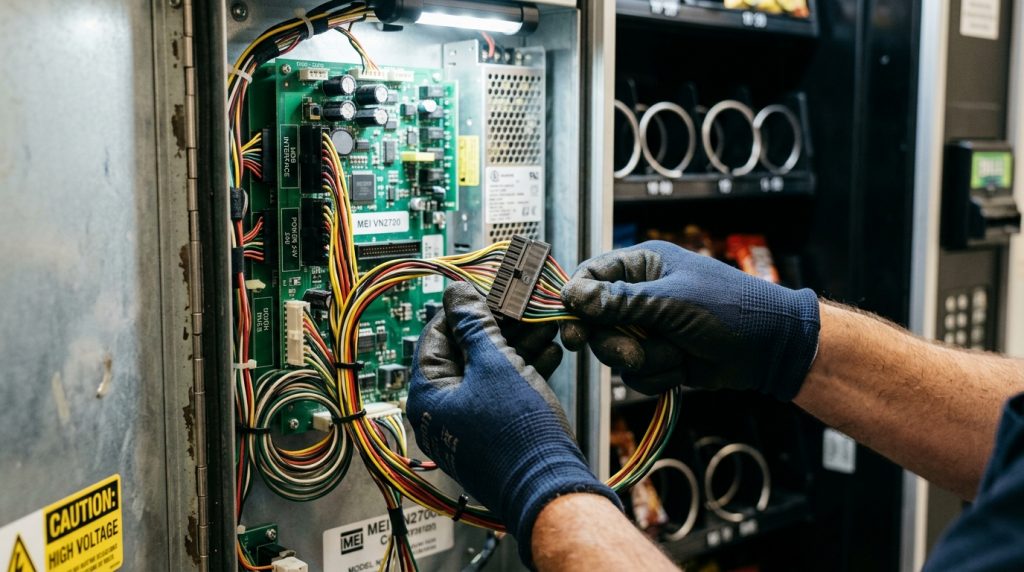
The heart of installing a card reader for vending machine unit lies in tapping into the machine’s internal MDB communication network. MDB operates as a pass-through series chain connecting the Vending Machine Controller (VMC), bill validator, coin mechanism, and cashless device.
- Locate the MDB Cable Chain: Open the main door and locate the main harness coming from the VMC circuit board to the bill acceptor and coin mechanism.
- Disconnect the Circuit: Unplug the standard male/female MDB connector between the VMC and the existing payment peripherals.
- Plug in the Cashless Harness: Take the Y-harness cable supplied with your card reader for vending machine kit. Connect one end to the VMC, connect the second end to your existing coin/bill validator harness, and plug the third branch directly into your new telemetry unit or reader module.
- Connect Secondary Power (If needed): While MDB delivers operational voltage, certain advanced touchscreen readers require an auxiliary power supply transformer plugged directly into the internal 110V power junction.
Step 4: Install the Cellular Antenna and Telemeter Unit
To process instant cashless payments, your system requires reliable communication with wireless cellular networks.
- Position the Telemeter Box: Secure the telemetry logic box inside the upper internal cabinet wall using magnetic mounts or mounting screws. Keep it away from moving vend motors or high-heat components.
- Attach the Antenna: Route the external antenna wire through the top knock-out hole or upper door hinge opening. Mount the high-gain antenna on top of the cabinet roof exterior for maximum signal reception.
- Manage Cables: Secure all excess cabling neatly using zip ties. Ensure no wires interfere with internal drop chutes, coin return levers, or locking bars.
Step 5: Power On and Activate the Reader via synthiaX
Once all hardware and harness connections are locked tightly in place, it is time to bring your system online.
- Plug the vending machine back into the wall outlet and flip the internal power switch ON.
- Observe the diagnostic lights on the card reader for vending machine display and telemetry box. The lights will typically cycle through boot-up sequences, signaling power, internal diagnostics, and cellular network handshake.
- Open your mobile browser or app and log into the synthiaX cloud portal. Enter your device serial number or scan the onboarding QR code to assign the newly installed card reader for vending machine hardware to your specific route, machine location, and bank deposit account.
- Through the powerful synthiaX software interface, configure your item pricing, multi-vend settings, and cashless display messaging in real time.
Step 6: Perform a Test Transaction
Never leave a machine installation without verifying that the transaction flow works end-to-end.
- Test Contactless / Chip Insert: Tap a credit card, contactless debit card, or smartphone (Apple Pay/Google Pay) against the newly installed card reader for vending machine bezel.
- Verify Authorization: The display should briefly show “Authorizing…”, display your approved credit limit, and prompt you to select an item.
- Make a Selection: Press a selection button on the machine front. Verify that the product drops successfully into the delivery bin and that the transaction finalizes accurately on the screen.
- Check Cloud Portal: Log into synthiaX to confirm that the test transaction immediately logs in your sales dashboard and remote telemetry inventory logs.
Frequently Asked Questions (FAQ)
Q1: Can I install a card reader for vending machine on older, non-MDB machines?
Yes! While machines built with native MDB support offer simple plug-and-play setup, older pulse-based machines can still support modern card payment options. You simply need to purchase an inexpensive MDB conversion kit or pulse harness adapter alongside your cashless reader.
Q2: How much does a card reader for vending machine cost?
Hardware costs for a high-quality card reader for vending machine setup typically range from $160 to $200 per machine, depending on feature sets (e.g., touchscreens vs. standard LED displays). Additionally, operators pay a nominal monthly cellular connection fee (usually 10/month) plus standard credit card processing rates per transaction.
Q3: Does a card reader for vending machine require Wi-Fi on-site?
No, modern payment terminals do not rely on local customer Wi-Fi networks. A commercial card reader for vending machine utilizes built-in cellular SIM cards (operating on 4G/5G LTE networks) to ensure secure, uninterrupted payment processing anywhere cellular coverage exists.
Q4: How long does it take to install a card reader for vending machine using synthiaX?
Thanks to pre-configured hardware and simple plug-and-play MDB harnessing, installing a card reader for vending machine unit with synthiaX takes under 20 minutes per machine. This allows route operators to quickly upgrade an entire fleet without significant downtime.
Q5: What payment methods will my machine accept after the upgrade?
Once installed, your machine will accept major credit cards (Visa, Mastercard, American Express, Discover), chip-enabled debit cards, NFC tap-to-pay payments, and mobile wallet platforms including Apple Pay, Google Pay, and Samsung Pay.
Upgrade Your Vending Fleet with SynthiaX Today!
Transitioning your vending route into a modern, cashless retail enterprise is the single best investment you can make to boost sales, reduce route labor, and protect your margins. Retaining cash-only machines in a digital-first world limits your earnings and leaves your business behind the competition.
Installing a reliable card reader for vending machine setup has never been easier or more affordable. With synthiaX, you get far more than a simple credit card processing device; you gain access to an all-in-one smart vending platform complete with robust hardware, low processing fees, real-time telemetry, inventory intelligence, and 24/7 technical support.
Don’t let cash-free customers walk past your machine empty-handed. Contact synthiaX today to order your cashless payment hardware kits, upgrade your vending machine fleet, and watch your daily profits soar!